Transitioning your home to solar power is a significant investment that promises long-term savings, environmental benefits, and increased energy independence. While the idea of generating your own electricity can seem complex, the process of setting up a home solar power system can be broken down into manageable steps. This guide provides a comprehensive overview of “How to Set Up a home solar power system,” from initial planning to final activation, empowering homeowners to confidently embrace renewable energy.
Step 1: Initial Assessment and Energy Audit
Before any panels are installed, a thorough understanding of your home’s energy needs and solar potential is essential.
- Review Electricity Bills: Gather at least 12-24 months of electricity bills to understand your average daily, monthly, and annual energy consumption (in kilowatt-hours, kWh). Identify peak usage times and seasonal variations.
- Assess Solar Potential: Evaluate your roof’s suitability. Consider its size, angle, orientation (south-facing is generally ideal in the Northern Hemisphere), and any existing or potential shading from trees, chimneys, or neighboring buildings. A professional solar installer will conduct a detailed site survey for this.
- Define Your Goals: Determine what you want to achieve with solar. Are you looking to offset 100% of your electricity bill, reduce it significantly, or gain energy independence with battery backup? Your goals will influence the system’s size and complexity.
Step 2: Choose Your Solar System Type and Components
Based on your assessment, you’ll select the type of solar system and its core components.
- System Type:
- On-Grid (Grid-Tied): The most common. Your system is connected to the utility grid. You use solar power when available, draw from the grid when needed, and send excess power back to the grid (often earning credits via net metering). No battery storage is typically included.
- Off-Grid: Completely independent of the utility grid. Requires a robust battery bank to store energy for nighttime and cloudy days, and often a backup generator. Ideal for remote locations.
- Hybrid: Combines on-grid connectivity with battery storage. Offers the benefits of net metering and grid reliability, plus backup power during outages and optimized self-consumption.
- Key Components:
- Solar Panels (PV Modules): The devices that convert sunlight into DC electricity.
- Inverter: Crucial for converting DC electricity from panels into usable AC electricity for your home. Options include string inverters, microinverters (one per panel), or hybrid inverters (for battery systems).
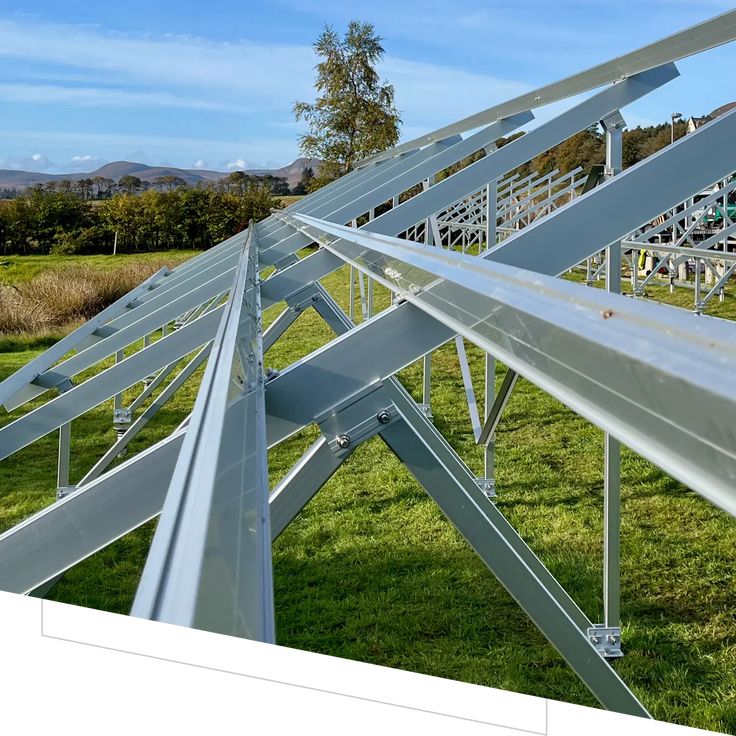
- Mounting System (Racking): Secures the panels to your roof or ground.
- Balance of System (BOS): Includes wiring, conduits, disconnect switches, and safety equipment.
- Battery Storage (Optional for On-Grid, Essential for Off-Grid): Stores excess solar energy for later use.
Step 3: Select a Reputable Solar Installer
This is arguably the most critical step, as the quality of installation directly impacts system performance and safety.
- Get Multiple Quotes: Obtain detailed proposals from at least three different licensed and reputable solar installers.
- Compare Proposals Thoroughly: Look beyond just the price. Compare:
- Experience: How long have they been in business, and how many similar residential systems have they installed?
- Certifications: Are they accredited (e.g., MCS in the UK, NABCEP in the U.S.)?
- Equipment Brands: Do they offer high-quality, warrantied panels and inverters?
- Warranties: Understand the product, performance, and workmanship warranties.
- Customer Reviews & References: Check online reviews and ask for references from previous clients.
- Services Included: Does the proposal cover design, permitting, installation, and post-installation support?
Step 4: Understand Financing and Incentives
Explore the financial aspects to make solar more affordable.
- Financing Options: Discuss cash purchase, solar loans, Power Purchase Agreements (PPAs), or leases with your installer and a financial advisor.
- Tax Incentives and Rebates: Research federal, state, and local tax credits, grants, and rebates that can significantly reduce the net cost of your system. Your installer should be able to guide you on applicable incentives.
Step 5: Permitting, Installation, and Inspection
Once the contract is signed and financing is secured, the physical work begins.
- Permitting: Your installer will handle obtaining all necessary permits from local authorities (building, electrical, zoning).
- Installation: The solar panels, racking, wiring, and inverter are installed. This process typically takes a few days to a week, depending on system size and complexity.
- Inspection: After installation, the system will undergo inspections by local building authorities and the utility company to ensure compliance with all codes and safety standards.
- Interconnection: Once all inspections are passed, the utility company will give final approval for your system to be connected to the grid and begin operating.
Step 6: Monitoring and Maintenance
Your system is now active, but ongoing care ensures long-term performance.
- Activate Monitoring: Set up your inverter’s monitoring system (usually an app or web portal) to track your system’s energy production in real-time.
- Routine Cleaning: Periodically clean your solar panels to remove dirt, dust, and debris that can reduce efficiency. The frequency depends on your local environment.
- Regular Inspections: Conduct visual checks for any damage or new shading. Schedule annual professional inspections to ensure all components are functioning optimally.
Conclusion
Setting up a home solar power system is a multi-stage process that, when approached systematically, can be a rewarding experience. By carefully assessing your needs, choosing the right components and a reputable installer, understanding financing, and committing to ongoing maintenance, you can successfully transition your home to clean, renewable energy, enjoying significant savings and contributing to a more sustainable future.


