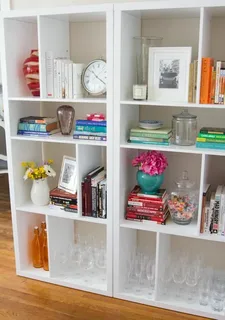
A bookcase isn’t just a piece of furniture—it’s a showcase for your interests, a home for your favorite stories, and a practical way to organize any space. While there are countless store-bought options available, nothing beats the satisfaction and customization of building one yourself. DIY bookcase projects: build your own from scratch and enjoy the process of creating something truly unique that fits your style and space perfectly.
Why Build Your Own Bookcase?
Building your own bookcase has several advantages:
- Customization: Choose the size, color, materials, and style that match your room perfectly.
- Cost-Effective: Often cheaper than buying high-end furniture, especially if you use reclaimed or leftover wood.
- Skill Development: A great way to improve or showcase your woodworking skills.
Whether you’re a novice woodworker or an experienced DIYer, there’s a project out there for every skill level.
Tools and Materials You’ll Need
Before diving into DIY bookcase projects: build your own from scratch, gather the essential tools and materials:
Tools:
- Circular saw or table saw
- Power drill
- Screwdriver
- Tape measure
- Level
- Sandpaper or electric sander
- Wood glue
Materials:
- Plywood or solid wood boards
- Screws or nails
- Wood stain or paint
- Primer (if painting)
- Wood filler (optional)
- Brackets or anchors (if wall-mounted)
Step-by-Step Guide: Building a Simple Wooden Bookcase
Step 1: Plan Your Design
Measure the space where you want the bookcase to go. Decide on the number of shelves and how tall and wide you want it to be. Sketch a design including dimensions.
Step 2: Cut the Wood
Using your saw, cut all pieces to size: two side panels, top and bottom panels, and as many shelves as needed.
Step 3: Assemble the Frame
Attach the top and bottom panels to the side panels using screws and wood glue. Ensure everything is square using a level and corner clamps.
Step 4: Add the Shelves
Measure and mark evenly spaced points along the inside of the side panels. Secure the shelves using wood glue and screws or small brackets for extra support.
Step 5: Sand and Finish
Sand all surfaces until smooth. Apply wood filler to any gaps or holes. Wipe clean and apply your chosen finish—either paint or stain followed by a sealant.
Tips for a Successful DIY Bookcase
- Pre-drill screw holes to prevent wood from splitting.
- Use clamps to hold pieces steady while assembling.
- Label your parts before assembling to avoid confusion.
- Attach to the wall if it’s a tall bookcase, for safety.
Explore Creative Variations
Once you’ve mastered the basics, try some creative spins:
- Corner bookcases to maximize space
- Ladder-style bookcases for a modern look
- Built-ins for a custom-fitted, seamless appearance
These variations make DIY bookcase projects: build your own from scratch even more rewarding and personalized.
Conclusion
If you’re looking to combine function with creativity, DIY bookcase projects: build your own from scratch are a fulfilling weekend project. Not only do you get a beautiful and practical piece of furniture, but you also gain the satisfaction of having crafted it with your own hands. So grab your tools, roll up your sleeves, and start building!


